A new DLL is required to allow for ALT shortcut keys in PowerMenu. Deploy the following with your application:
- PBUSExternal.dll
NOTE: For PowerMenu Pro, inherit your window from w_ribbonwindow_advanced. PowerMenu Pro gives you a custom windows caption with quick access icons in the caption.
Application Setup:
•Add advguibase.pbl, advguicontrols.pbl\pbd, advguiobjects.pbl\pbd, and advguithemes.pbl\pbd to your library list.
•Backup your main menu.
•Your main window\frame should inherit from w_ribbonwindow or w_ribbonwindow_advanced.
•Resize your main windows content using WorkSpaceY(), WorkSpaceX(), WorkSpaceHeight() and WorkSpaceWidth().
Known Issues:
•PowerMenu Pro: If your WindowState property is set to Maximized!, the ribbon window sometimes doesn't open Maximized. Add the following line of code to the top of your frame windows Open event to fix it:
THIS.WindowState = Maximized!.
•Performance Issues with Contemporary Menu's. If you experience performance issues, change your menu's Menu Style to TraditionalMenu! and the Toolbar Style to TraditionalToolbar!
Change Inheritance of your Existing Frame:
If you have a frame ancestor:
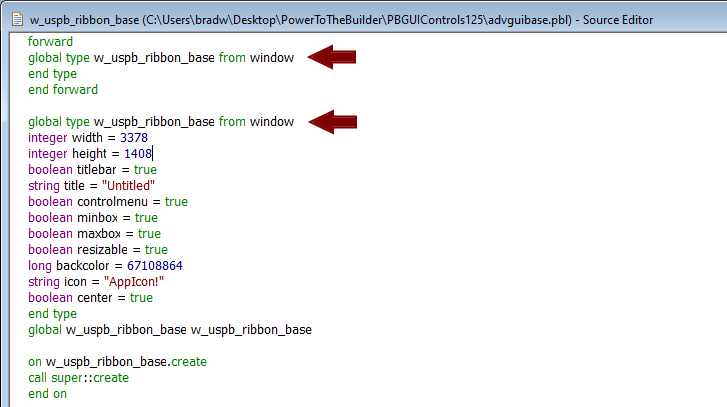
Right click on w_uspb_ribbon_base in advguibase.pbl (the ribbon windows inherit from this window) and select Edit Source from the context menu. You will find two instances of the following:
global type w_uspb_ribbon_base from window
Modify both by changing the reference to "window" with the name of your PFC or ancestor window that your current main frame window is inherited from. End result should look like this:
global type w_uspb_ribbon_base from pfc_frame
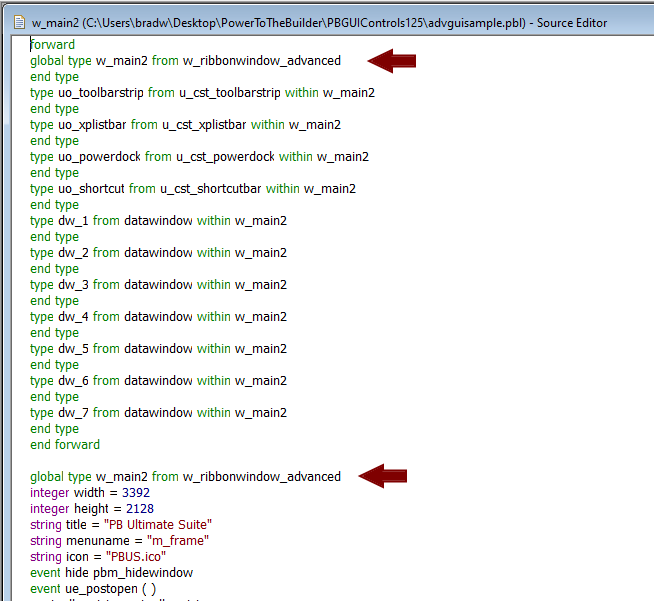
Next, right click on your main frame window and edit source. Find the two identical references from the above step. E.g.:
global type w_myframe from pfc_frame
Update the ancestor reference in your frame window to be w_ribbonwindow or w_ribbonwindow_advanced. End result should look like this:
global type w_myframe from w_ribbonwindow
**Do a full build**
Next, open your copy of w_uspb_ribbon_base. Go to each event that has code in the ancestor and make sure to extend the event. Open your main frame window and do the same. This last part if very important. You may also notice that your frame window doesn't have some of the w_ribbonwindow controls on them. Make a small change to your frame window then save and close. Re-open your frame window; you should see the w_ribbonwindow controls.
In your frame window and all sheets, uncheck the ToolbarVisible property in the Toolbar tab of the Properties panel.
Save and do a full build.
Resize your frame windows MDI Client:
If your window an MDI! or MDIHelp! window, you'll now have to move and resize your MDI Client. In the frame windows resize event, add code similar to the following:
mdi_1.Move(WorkSpaceX(), WorkSpaceY())
mdi_1.Resize(WorkSpaceWidth(), WorkSpaceHeight())
Configure Menu:
All top level menu items will display as tabs in the ribbon. If you don't want one to, make it invisible.
•Make sure all your menu items have images (toolbar image). For large items, you want good quality 32x32 images.
•Add your menu items to groups. Make sure the menu Tag property contains "group:MyGroupName;".
oE.g. group:File
oCopy this tag value to all the menu items you want to appear in that group.
oGroups are ordered in the same order that they are found when scanning the menu
oIt may be necessary to move items from one top level menu to another. For example, to display Cut, Copy and Paste in the File tab, you will have to move them from the Edit menu to the File menu.
•If you want the menu item to display in the Quick Access toolbar, add this to your menu's tag: quickaccess:TRUE;
oE.g. group:File;quickaccess:true;
•If you want the menu item to display as a large item, add this to your menu's tag: size:Large;
oE.g. group:File;size:Large;
•If you don't want to display text, add this to your menu's tag: displaytext:false;
oE.g. group:File;displaytext:false;
oE.g. group:File;size:Large;displaytext:false;
•Menu items are ordered in the same order that they are found when scanning the menu.
•Menu items with sub items are displayed as a group item in the ribbon. An arrow will display next to the text.
oNote, there is no need to add value to the tags of submenu items.
•If you want to display an image in the top level tab, add an image to your top level menu.
•If you want more information to display in the tooltip for the menu, add text to the menu items MicroHelp property.
•You can display the quick access toolbar under your ribbon by checking the DisplayQuickAccesUnderRibbon property on your window.
Adding the Program Tab:
of_DisplayProgramTab("properties.ico")
of_RibbonMenu().of_AddCommandButton("New", "new.png", "m_new" )
of_RibbonMenu().of_AddCommandButton("Open", "menuopen.bmp", "m_open" )
of_RibbonMenu().of_AddSeperator ()
of_RibbonMenu().of_AddCommandButton("Save", "menusave.bmp", "m_save" )
of_RibbonMenu().of_AddCommandButton("Save as", "saveas!", "m_saveas" )
of_RibbonMenu().of_AddSeperator ()
of_RibbonMenu().of_AddCommandButton("Print", "menuprint.bmp", "m_print" )
of_RibbonMenu().of_AddCommandButton("Send in email", "menuemail.bmp", "m_email" )
of_RibbonMenu().of_AddSeperator ()
of_RibbonMenu().of_AddCommandButton("Exit", "exit.png", "m_exit" )
The command value (last value passed into of_AddCommandButton) will be sent to the RibbonMenuClicked event when a Program Tab menu item is clicked.
Alternatively, you can display the advanced fly-out menu as seen in Word.
//Declare the user object you want to display in the panel.
//This is a user object you create
u_cst_home luo_home
of_SetStyle(OFFICE365) //Displays the ribbon in the Office 365 style (this is optional)
of_DisplayProgramTab() //By not passing a parameter, the ProgramTabText value from the windows property panel will display, default is "File"
of_RibbonMenuAdvanced().of_AddPanel("Home", "home.png", luo_home) //Open this user object as a panel item
of_RibbonMenuAdvanced().of_AddSeperator ()
of_RibbonMenuAdvanced().of_AddCommandButton("New", "new.png", "m_new" )
of_RibbonMenuAdvanced().of_AddCommandButton("Open", "menuopen.bmp", "m_open" )
of_RibbonMenuAdvanced().of_AddSeperator ()
of_RibbonMenuAdvanced().of_AddCommandButton("Save", "menusave.bmp", "m_save" )
of_RibbonMenuAdvanced().of_AddCommandButton("Save as", "saveas!", "m_saveas" )
of_RibbonMenuAdvanced().of_AddSeperator ()
of_RibbonMenuAdvanced().of_AddCommandButton("Print", "menuprint.bmp", "m_print" )
of_RibbonMenuAdvanced().of_AddCommandButton("Send in email", "menuemail.bmp", "m_email" )
of_RibbonMenuAdvanced().of_AddSeperator ()
of_RibbonMenuAdvanced().of_AddCommandButton("Exit", "exit.png", "m_exit" )
Changing Ribbon for Sheet or Child Windows:
If you open sheet windows with their own menu's, you'll have to refresh the ribbon to reflect that:
In the activate event of your sheet (or sheet ancestor) add the following code (w_frame is a reference to your main window that contains the ribbon control):
w_frame.of_RebuildRibbon(THIS.MenuID)
In the close event of your sheet, add the following code to rebuild the ribbon back to what's used in the frame window:
w_frame.of_RebuildRibbon(w_frame.MenuID)
PowerMenu Pro Options:
Set the window icon using the of_SetWindowIcon function.
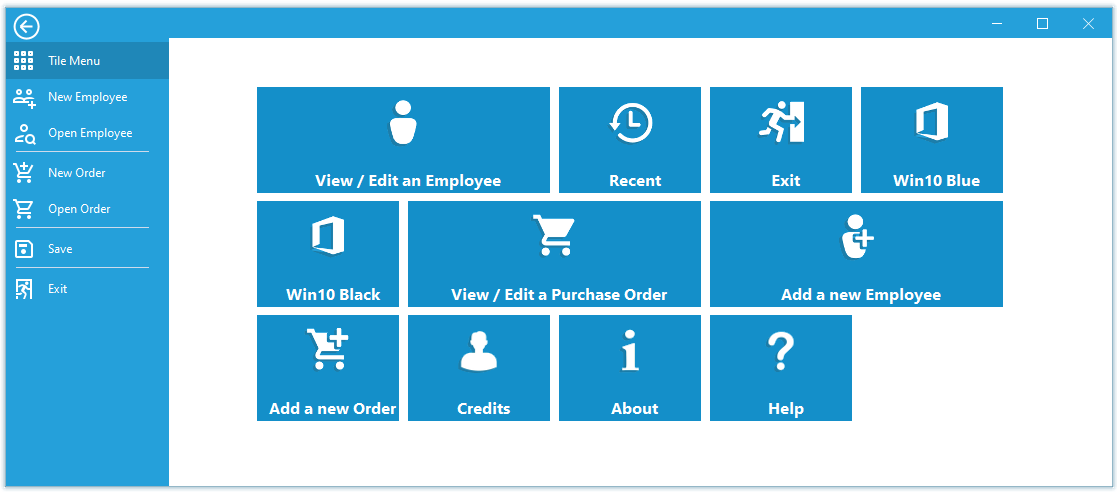
PowerMenu

PowerMenu Pro

Fly-out program tab menu
Copyright © 2021 Werysoft Inc.